🎉 Start Shopify’s $1 Plan and We’ll pay you up to $3,600 just for starting! 💸 — Limited Time
Get Limited Time Offer 💰
Offer Details — Rewards require completing eligible third-party offers. Reward amounts vary from $30 to $3,600. Terms and eligibility restrictions apply.
🎉 Start Shopify’s $1 Plan and We’ll pay you up to $3,600 just for starting! 💸 — Limited Time
Get Limited Time Offer 💰
Offer Details — Rewards require completing eligible third-party offers. Reward amounts vary from $30 to $3,600. Terms and eligibility restrictions apply.
🎉 Start Shopify’s $1 Plan and We’ll pay you up to $3,600 just for starting! 💸 — Limited Time
Get Limited Time Offer 💰
Offer Details — Rewards require completing eligible third-party offers. Reward amounts vary from $30 to $3,600. Terms and eligibility restrictions apply.
Ecommerce Strategies
Checklist for Multi-Currency Payment Setup on Shopify
Checklist for Multi-Currency Payment Setup on Shopify

Want to grow your Shopify store internationally? Setting up multi-currency payments is key. Shoppers prefer seeing prices in their local currency - 92% say it builds trust, and 33% abandon carts when only USD is shown. Stores implementing this feature have seen massive improvements, like a 428% conversion increase in Germany.
Here’s how to get started:
Enable Shopify Payments: It’s the only gateway supporting multi-currency natively.
Choose a Base Currency: This acts as the foundation for all conversions.
Access Shopify Markets: Available on plans starting at $29/month, with advanced options for larger stores.
Stick to Shopify Checkout: Third-party checkouts won’t support multi-currency features.
Test Thoroughly: Simulate purchases in various currencies to ensure smooth functionality.
Multi-currency tools can help you expand globally, avoid conversion surprises for customers, and improve sales. With cross-border e-commerce projected to hit $7.9 trillion by 2030, now’s the time to act.

Multi-Currency Payment Setup Checklist for Shopify Stores
Shopify: How to Offer Multiple Currencies (Multi-Currency Checkout)

What You Need Before Starting
Before diving into multi-currency payments, it's crucial to have everything in place to ensure smooth functionality. This quick checklist will help you cover all the essentials before setting up currencies and markets.
Make Sure Shopify Payments is Enabled

Shopify Payments is the only payment gateway that supports multi-currency transactions directly within Shopify. Without it, you won't be able to offer or process payments in different currencies through Shopify's native features. To confirm it's active, go to Settings > Payments in your Shopify admin. If Shopify Payments isn't available in your region, you'll need to use third-party currency conversion apps, which don’t provide the same integrated experience.
Choose Your Base Currency
Your store's base currency is the anchor for all currency conversions. Head to Settings > Store details to select your base currency, which is often USD for stores in the U.S. All international sales will be converted back to this currency for accounting purposes, and Shopify Payments will deposit the corresponding amount into your bank account. Be mindful of any tax or legal considerations when making this decision.
Check Access to Shopify Markets
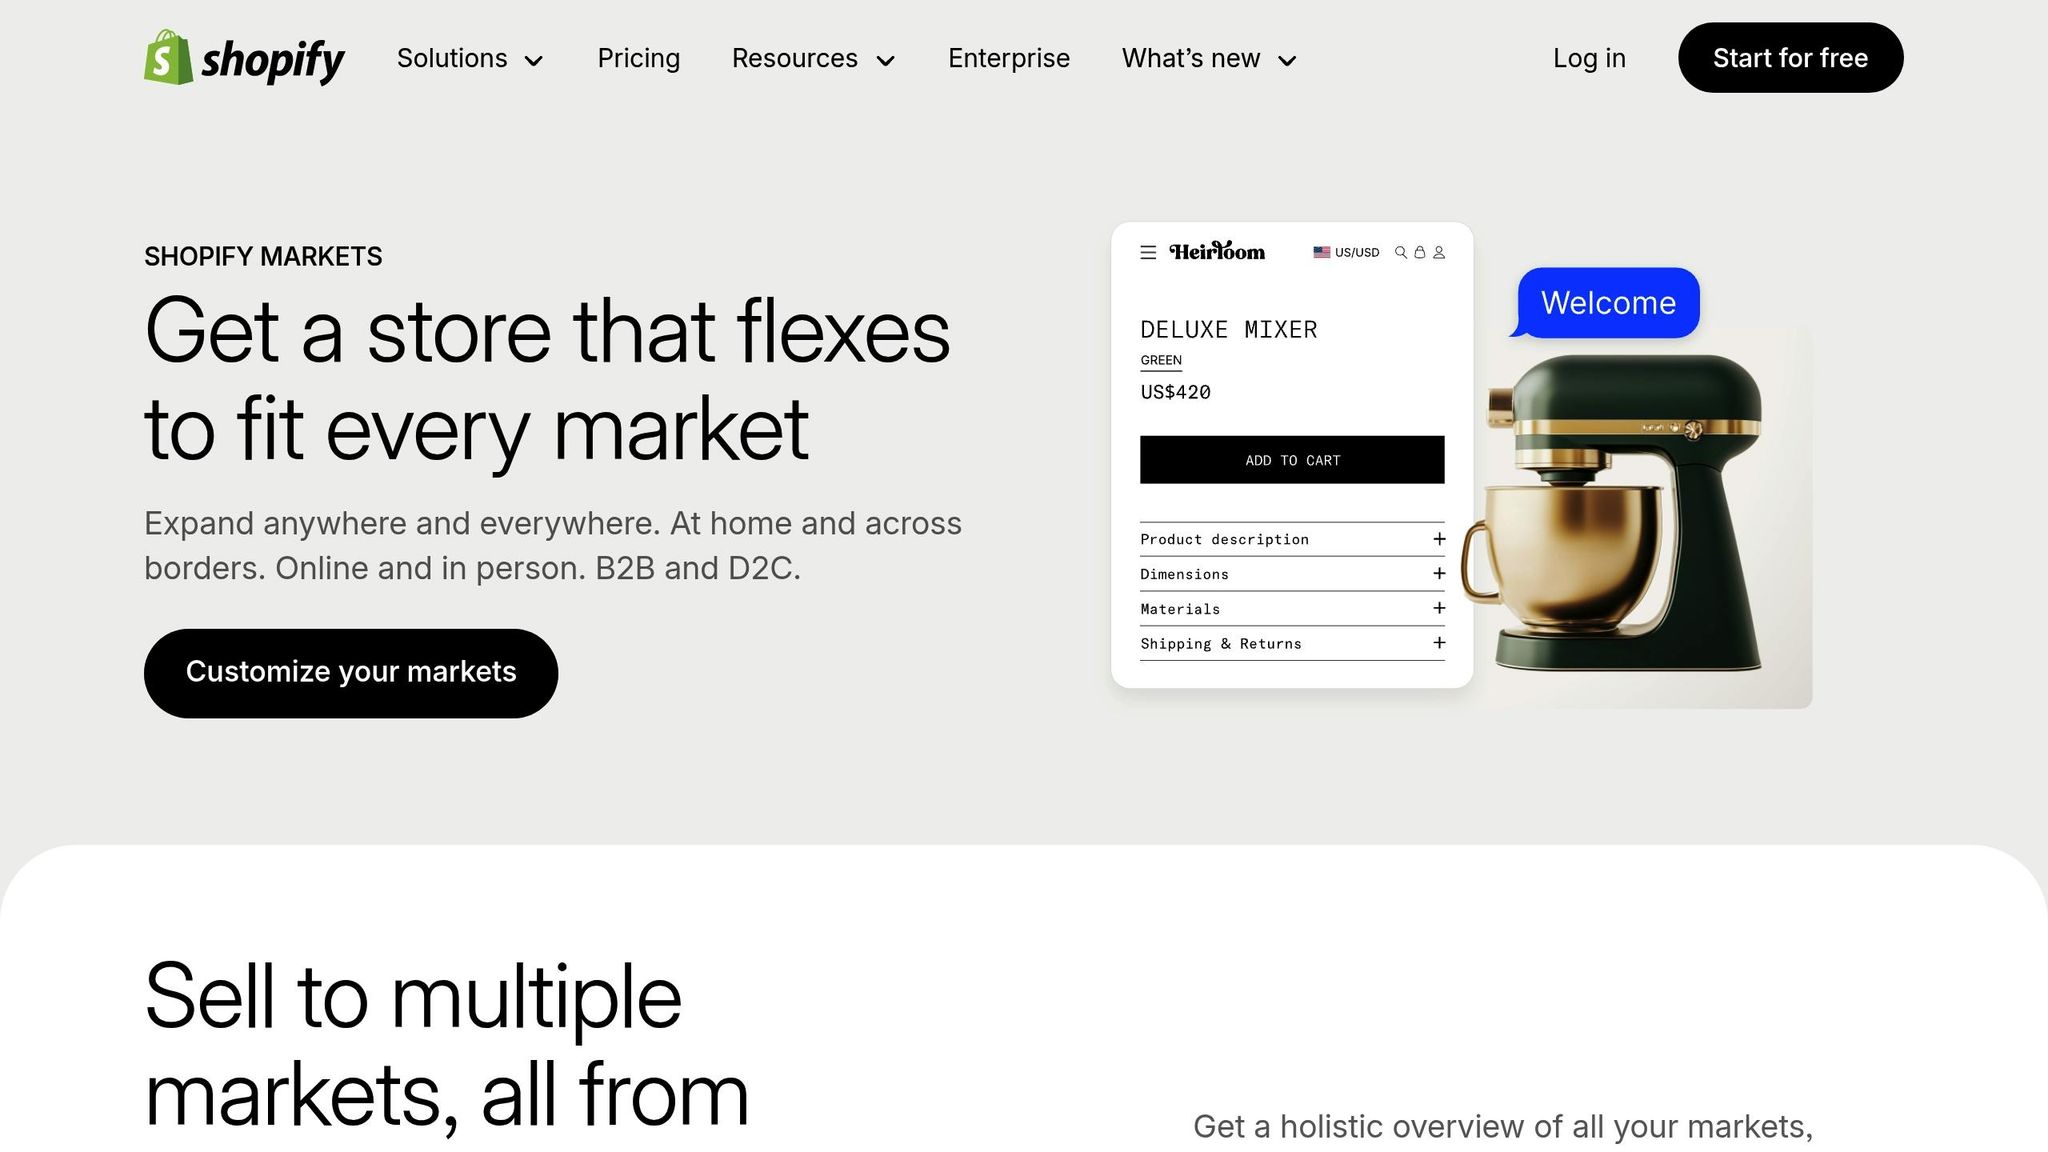
To use Shopify Markets, you'll need at least the Basic Shopify plan, which costs $29/month when billed annually. Advanced plans, like Shopify Advanced ($299/month) and Shopify Plus ($2,300/month), provide extra perks, such as the ability to settle funds in up to eight currencies. To confirm access, navigate to Settings > Markets in your Shopify admin. If this option isn’t visible, you may need to upgrade your plan.
Stick to Shopify’s Native Checkout
Multi-currency features only work with Shopify's native checkout. Third-party checkout solutions might not support these capabilities. To verify, go to Settings > Checkout in your admin panel and ensure you're using Shopify's standard checkout. If you've heavily customized your checkout or integrated external payment processors, you might need to revert to Shopify’s default setup to enable multi-currency functionality.
Once you’ve checked off these steps, you’re ready to start configuring your currencies and markets.
Setting Up Currencies and Markets
Now that you’ve laid the groundwork, it’s time to dive into configuring the markets and currencies that will drive your multi-currency setup. This is where you decide which regions to target and what currencies your customers can use.
Create and Configure Markets
Head to Settings > Markets and select Add market. Here, you’ll assign specific countries to each market. For instance, you might set up one market for the United States, another for Europe, and a third for Canada. Each market requires a primary currency - use USD for your U.S. market, EUR for Europe, and CAD for Canada. Additionally, you can customize language preferences and shipping rules to align with regional expectations. If certain countries play a crucial role in your business, consider creating individual markets for them instead of grouping them together. This approach not only creates subfolders that can improve SEO but also gives you more control over pricing and localization. A well-structured market setup can help you convert more visitors and reach new international customers.
Add Currencies to Your Store
Once your markets are set up, it’s time to add currencies within the settings of each market. Navigate to the market you want to configure and go to Products and pricing. Enable the "Show prices in local currency" option. Shopify automatically updates exchange rates twice daily, but if you’re on the Advanced Shopify plan ($299/month) or Shopify Plus ($2,300/month), you can manually set exchange rates for specific markets. This can help maintain price consistency even when exchange rates fluctuate. Be sure to fine-tune your store’s price display rules to align with local expectations.
Set Price Display Rules
In the Products and pricing section of your market settings, you can define how prices should appear for each currency. Choose endings like .99, .95, or whole numbers to match local pricing norms. For example, U.S. shoppers typically expect prices like $19.99, while some European markets lean toward rounded prices such as €20. Shopify calculates the final price by taking your base price, applying the exchange rate and any relevant fees, and then rounding it according to your rules. This ensures your pricing feels natural to customers in each region.
Ediz Ozturk, founder of the global fitness brand Doyoueven, shared how impactful multi-currency implementation was for his business:
"In just the first month of implementing multi-currency, we experienced year-on-year growth of 89%, with a total sales increase of 122%."
The success didn’t stop there - by the following month, the brand saw a 28% increase in orders and a 39% boost in sales, even during a typically slower period for the business.
Configuring Theme and Currency Selector
Your Shopify store can display multi-currency options, but for these to appear, your theme must support them. Even if you've set everything up correctly in the admin panel, your theme needs to be ready to showcase these options.
Verify Theme Compatibility
Start by opening the Shopify theme editor (navigate to Online Store > Themes > Customize) and look for a "Country/Region" or "Currency Selector" in the header or footer. Use the preview feature or a VPN to simulate browsing from different countries. If these options show up and function as expected, your theme is compatible with Shopify's multi-currency features.
However, if you're using an older theme, it might not support these features. In that case, consider upgrading to a Shopify theme 2.0, which includes built-in multi-currency and Shopify Markets support. Also, make sure prices update correctly when switching currencies during your testing.
Add a Currency Selector
Find the currency selector in your theme's settings, typically located in the header, footer, or dropdown menu. If you can’t locate it, you can install Shopify’s Geolocation app. Once installed, enable the app’s selector option by going to Settings > Apps and sales channels. This will allow customers to manually switch currencies if the automatic detection doesn’t align with their preferences.
Set Up Geolocation
The Geolocation app uses your customers' IP addresses to automatically detect their location and display prices in the corresponding local currency. To set it up, install the app and enable it in Settings > Markets. From there, you can configure target countries, set a default country, and manage supported countries and mobile options to ensure a smooth experience.
If you're a Shopify Plus merchant, currency selection based on IP address happens automatically without requiring additional configuration. Remember, multi-currency functionality only works if Shopify Payments is enabled.
Once your theme and selectors are configured, thoroughly test everything to ensure your customers enjoy a seamless shopping experience.
Testing and Ongoing Maintenance
Once your multi-currency setup is in place, the next step is ensuring everything runs smoothly. Shopify updates exchange rates daily using data from XE.com, but it’s still crucial to test your setup and monitor its performance regularly. This includes verifying functionality, keeping an eye on performance shifts, and re-checking after any system updates.
Test Purchases in Different Currencies
After configuring your multi-currency settings, test every currency option to ensure a smooth shopping experience for your customers:
Use a VPN or Shopify's Preview tool to simulate visits from different countries. Clear your browser cache between tests to avoid any data conflicts.
Enable test mode for Shopify Payments or use the Bogus Gateway to place test orders in all supported currencies.
Check that the correct currency displays on all pages, including product listings, the cart, and checkout.
Confirm that order confirmations and refund processes work correctly for each currency.
Test the currency selector across various devices and browsers to ensure it functions properly.
Monitor Exchange Rates and Performance
Shopify’s automatic conversions make pricing easier, but it’s still important to stay proactive about your pricing strategy:
Review your profit margins on a weekly basis to assess how currency fluctuations are affecting your bottom line.
Use the Settings > Markets > Products and pricing section to set rounding rules that maintain clean, professional-looking prices.
Monitor metrics like conversion rates, average order values, and refund patterns. These insights can help you detect and resolve pricing issues quickly.
Did you know that 13% of shoppers abandon their carts when prices are displayed in a foreign currency? Keeping tabs on these metrics can help you address potential problems before they impact your sales.
Re-Test After Updates
Theme updates or new app installations can sometimes disrupt your multi-currency functionality. To avoid potential issues, re-test your setup after making any changes to your theme or apps. Simulate international shopping experiences by placing test orders, and verify that price, tax, and shipping calculations are accurate. This extra step can prevent checkout errors, incorrect totals, and unexpected charges caused by changes to payment settings or related systems.
Regular testing and monitoring ensure that your multi-currency setup continues to deliver a seamless experience for customers worldwide.
Conclusion
Setting up multi-currency payments on Shopify can be a game-changer for businesses aiming to expand internationally. This guide walks you through enabling Shopify Payments, configuring markets and currencies, fine-tuning your theme, and running regular tests to ensure everything works smoothly.
The numbers speak for themselves: businesses offering 25 or more currencies see a 25% higher growth rate compared to those sticking to a single currency. Take Passenger, for example - they boosted international sales from just 1% to an impressive 40% of total revenue in only two years by leveraging Shopify Markets and multi-currency features.
Shoppers also have clear preferences. A whopping 92% of global buyers want prices displayed in their local currency, while 33% abandon their carts if forced to deal with currency conversion hassles. With cross-border e-commerce projected to hit $7.9 trillion by 2030, implementing multi-currency payments positions your business to take full advantage of this booming market.
FAQs
How can I accept payments in multiple currencies on Shopify if Shopify Payments isn't supported in my country?
If Shopify Payments isn’t an option in your area, don’t worry - you can still accept payments in multiple currencies. Just use a third-party payment gateway that supports the currencies you want to offer. To get started, head to Settings → Payments in your Shopify admin, add your chosen payment gateway, and enable the currencies you need. You might also want to explore a multi-currency app to make it easier for your customers to pay in their local currency.
What are the advantages of using Shopify Markets for handling multi-currency payments?
Shopify Markets simplifies handling multi-currency transactions by automatically showing prices and processing payments in your customers’ local currencies. This approach not only meets customer expectations but also smooths the checkout process and reduces risks tied to exchange rates.
By tackling global pricing, taxes, and compliance with ease, Shopify Markets helps businesses manage international operations effortlessly. It supports global expansion, improves conversion rates, and ensures a smooth shopping experience for customers across the world.
How do I check if my Shopify theme supports multi-currency payments?
Getting your Shopify theme ready for multi-currency payments doesn’t have to be complicated. Here’s how you can make sure your store is set up to handle multiple currencies seamlessly:
Use Shopify’s money filters for price displays: Replace any hard-coded price values in your theme with Shopify’s
money_with_currencyormoneyLiquid filters. This ensures that the correct currency symbols or codes appear and allows for real-time currency conversions.Include explicit currency formatting: Add a setting in your theme to display the three-letter currency code (like USD) next to prices. This is especially helpful when symbols like
$are used for multiple currencies, reducing any potential confusion for your customers.Test your store’s multi-currency functionality: Activate the currencies you want to support through Shopify Payments. Then, test your store by switching between currencies to ensure that product prices, taxes, and shipping fees adjust accurately for each one.
Pro tip for BuildMyStores users: If you’re using BuildMyStores, you’re in luck! Their AI-generated Shopify stores come pre-configured with multi-currency support, so you can skip the coding and launch your store hassle-free.
Related Blog Posts
Want to grow your Shopify store internationally? Setting up multi-currency payments is key. Shoppers prefer seeing prices in their local currency - 92% say it builds trust, and 33% abandon carts when only USD is shown. Stores implementing this feature have seen massive improvements, like a 428% conversion increase in Germany.
Here’s how to get started:
Enable Shopify Payments: It’s the only gateway supporting multi-currency natively.
Choose a Base Currency: This acts as the foundation for all conversions.
Access Shopify Markets: Available on plans starting at $29/month, with advanced options for larger stores.
Stick to Shopify Checkout: Third-party checkouts won’t support multi-currency features.
Test Thoroughly: Simulate purchases in various currencies to ensure smooth functionality.
Multi-currency tools can help you expand globally, avoid conversion surprises for customers, and improve sales. With cross-border e-commerce projected to hit $7.9 trillion by 2030, now’s the time to act.
Multi-Currency Payment Setup Checklist for Shopify Stores
Shopify: How to Offer Multiple Currencies (Multi-Currency Checkout)
What You Need Before Starting
Before diving into multi-currency payments, it's crucial to have everything in place to ensure smooth functionality. This quick checklist will help you cover all the essentials before setting up currencies and markets.
Make Sure Shopify Payments is Enabled
Shopify Payments is the only payment gateway that supports multi-currency transactions directly within Shopify. Without it, you won't be able to offer or process payments in different currencies through Shopify's native features. To confirm it's active, go to Settings > Payments in your Shopify admin. If Shopify Payments isn't available in your region, you'll need to use third-party currency conversion apps, which don’t provide the same integrated experience.
Choose Your Base Currency
Your store's base currency is the anchor for all currency conversions. Head to Settings > Store details to select your base currency, which is often USD for stores in the U.S. All international sales will be converted back to this currency for accounting purposes, and Shopify Payments will deposit the corresponding amount into your bank account. Be mindful of any tax or legal considerations when making this decision.
Check Access to Shopify Markets
To use Shopify Markets, you'll need at least the Basic Shopify plan, which costs $29/month when billed annually. Advanced plans, like Shopify Advanced ($299/month) and Shopify Plus ($2,300/month), provide extra perks, such as the ability to settle funds in up to eight currencies. To confirm access, navigate to Settings > Markets in your Shopify admin. If this option isn’t visible, you may need to upgrade your plan.
Stick to Shopify’s Native Checkout
Multi-currency features only work with Shopify's native checkout. Third-party checkout solutions might not support these capabilities. To verify, go to Settings > Checkout in your admin panel and ensure you're using Shopify's standard checkout. If you've heavily customized your checkout or integrated external payment processors, you might need to revert to Shopify’s default setup to enable multi-currency functionality.
Once you’ve checked off these steps, you’re ready to start configuring your currencies and markets.
Setting Up Currencies and Markets
Now that you’ve laid the groundwork, it’s time to dive into configuring the markets and currencies that will drive your multi-currency setup. This is where you decide which regions to target and what currencies your customers can use.
Create and Configure Markets
Head to Settings > Markets and select Add market. Here, you’ll assign specific countries to each market. For instance, you might set up one market for the United States, another for Europe, and a third for Canada. Each market requires a primary currency - use USD for your U.S. market, EUR for Europe, and CAD for Canada. Additionally, you can customize language preferences and shipping rules to align with regional expectations. If certain countries play a crucial role in your business, consider creating individual markets for them instead of grouping them together. This approach not only creates subfolders that can improve SEO but also gives you more control over pricing and localization. A well-structured market setup can help you convert more visitors and reach new international customers.
Add Currencies to Your Store
Once your markets are set up, it’s time to add currencies within the settings of each market. Navigate to the market you want to configure and go to Products and pricing. Enable the "Show prices in local currency" option. Shopify automatically updates exchange rates twice daily, but if you’re on the Advanced Shopify plan ($299/month) or Shopify Plus ($2,300/month), you can manually set exchange rates for specific markets. This can help maintain price consistency even when exchange rates fluctuate. Be sure to fine-tune your store’s price display rules to align with local expectations.
Set Price Display Rules
In the Products and pricing section of your market settings, you can define how prices should appear for each currency. Choose endings like .99, .95, or whole numbers to match local pricing norms. For example, U.S. shoppers typically expect prices like $19.99, while some European markets lean toward rounded prices such as €20. Shopify calculates the final price by taking your base price, applying the exchange rate and any relevant fees, and then rounding it according to your rules. This ensures your pricing feels natural to customers in each region.
Ediz Ozturk, founder of the global fitness brand Doyoueven, shared how impactful multi-currency implementation was for his business:
"In just the first month of implementing multi-currency, we experienced year-on-year growth of 89%, with a total sales increase of 122%."
The success didn’t stop there - by the following month, the brand saw a 28% increase in orders and a 39% boost in sales, even during a typically slower period for the business.
Configuring Theme and Currency Selector
Your Shopify store can display multi-currency options, but for these to appear, your theme must support them. Even if you've set everything up correctly in the admin panel, your theme needs to be ready to showcase these options.
Verify Theme Compatibility
Start by opening the Shopify theme editor (navigate to Online Store > Themes > Customize) and look for a "Country/Region" or "Currency Selector" in the header or footer. Use the preview feature or a VPN to simulate browsing from different countries. If these options show up and function as expected, your theme is compatible with Shopify's multi-currency features.
However, if you're using an older theme, it might not support these features. In that case, consider upgrading to a Shopify theme 2.0, which includes built-in multi-currency and Shopify Markets support. Also, make sure prices update correctly when switching currencies during your testing.
Add a Currency Selector
Find the currency selector in your theme's settings, typically located in the header, footer, or dropdown menu. If you can’t locate it, you can install Shopify’s Geolocation app. Once installed, enable the app’s selector option by going to Settings > Apps and sales channels. This will allow customers to manually switch currencies if the automatic detection doesn’t align with their preferences.
Set Up Geolocation
The Geolocation app uses your customers' IP addresses to automatically detect their location and display prices in the corresponding local currency. To set it up, install the app and enable it in Settings > Markets. From there, you can configure target countries, set a default country, and manage supported countries and mobile options to ensure a smooth experience.
If you're a Shopify Plus merchant, currency selection based on IP address happens automatically without requiring additional configuration. Remember, multi-currency functionality only works if Shopify Payments is enabled.
Once your theme and selectors are configured, thoroughly test everything to ensure your customers enjoy a seamless shopping experience.
Testing and Ongoing Maintenance
Once your multi-currency setup is in place, the next step is ensuring everything runs smoothly. Shopify updates exchange rates daily using data from XE.com, but it’s still crucial to test your setup and monitor its performance regularly. This includes verifying functionality, keeping an eye on performance shifts, and re-checking after any system updates.
Test Purchases in Different Currencies
After configuring your multi-currency settings, test every currency option to ensure a smooth shopping experience for your customers:
Use a VPN or Shopify's Preview tool to simulate visits from different countries. Clear your browser cache between tests to avoid any data conflicts.
Enable test mode for Shopify Payments or use the Bogus Gateway to place test orders in all supported currencies.
Check that the correct currency displays on all pages, including product listings, the cart, and checkout.
Confirm that order confirmations and refund processes work correctly for each currency.
Test the currency selector across various devices and browsers to ensure it functions properly.
Monitor Exchange Rates and Performance
Shopify’s automatic conversions make pricing easier, but it’s still important to stay proactive about your pricing strategy:
Review your profit margins on a weekly basis to assess how currency fluctuations are affecting your bottom line.
Use the Settings > Markets > Products and pricing section to set rounding rules that maintain clean, professional-looking prices.
Monitor metrics like conversion rates, average order values, and refund patterns. These insights can help you detect and resolve pricing issues quickly.
Did you know that 13% of shoppers abandon their carts when prices are displayed in a foreign currency? Keeping tabs on these metrics can help you address potential problems before they impact your sales.
Re-Test After Updates
Theme updates or new app installations can sometimes disrupt your multi-currency functionality. To avoid potential issues, re-test your setup after making any changes to your theme or apps. Simulate international shopping experiences by placing test orders, and verify that price, tax, and shipping calculations are accurate. This extra step can prevent checkout errors, incorrect totals, and unexpected charges caused by changes to payment settings or related systems.
Regular testing and monitoring ensure that your multi-currency setup continues to deliver a seamless experience for customers worldwide.
Conclusion
Setting up multi-currency payments on Shopify can be a game-changer for businesses aiming to expand internationally. This guide walks you through enabling Shopify Payments, configuring markets and currencies, fine-tuning your theme, and running regular tests to ensure everything works smoothly.
The numbers speak for themselves: businesses offering 25 or more currencies see a 25% higher growth rate compared to those sticking to a single currency. Take Passenger, for example - they boosted international sales from just 1% to an impressive 40% of total revenue in only two years by leveraging Shopify Markets and multi-currency features.
Shoppers also have clear preferences. A whopping 92% of global buyers want prices displayed in their local currency, while 33% abandon their carts if forced to deal with currency conversion hassles. With cross-border e-commerce projected to hit $7.9 trillion by 2030, implementing multi-currency payments positions your business to take full advantage of this booming market.
FAQs
How can I accept payments in multiple currencies on Shopify if Shopify Payments isn't supported in my country?
If Shopify Payments isn’t an option in your area, don’t worry - you can still accept payments in multiple currencies. Just use a third-party payment gateway that supports the currencies you want to offer. To get started, head to Settings → Payments in your Shopify admin, add your chosen payment gateway, and enable the currencies you need. You might also want to explore a multi-currency app to make it easier for your customers to pay in their local currency.
What are the advantages of using Shopify Markets for handling multi-currency payments?
Shopify Markets simplifies handling multi-currency transactions by automatically showing prices and processing payments in your customers’ local currencies. This approach not only meets customer expectations but also smooths the checkout process and reduces risks tied to exchange rates.
By tackling global pricing, taxes, and compliance with ease, Shopify Markets helps businesses manage international operations effortlessly. It supports global expansion, improves conversion rates, and ensures a smooth shopping experience for customers across the world.
How do I check if my Shopify theme supports multi-currency payments?
Getting your Shopify theme ready for multi-currency payments doesn’t have to be complicated. Here’s how you can make sure your store is set up to handle multiple currencies seamlessly:
Use Shopify’s money filters for price displays: Replace any hard-coded price values in your theme with Shopify’s
money_with_currencyormoneyLiquid filters. This ensures that the correct currency symbols or codes appear and allows for real-time currency conversions.Include explicit currency formatting: Add a setting in your theme to display the three-letter currency code (like USD) next to prices. This is especially helpful when symbols like
$are used for multiple currencies, reducing any potential confusion for your customers.Test your store’s multi-currency functionality: Activate the currencies you want to support through Shopify Payments. Then, test your store by switching between currencies to ensure that product prices, taxes, and shipping fees adjust accurately for each one.
Pro tip for BuildMyStores users: If you’re using BuildMyStores, you’re in luck! Their AI-generated Shopify stores come pre-configured with multi-currency support, so you can skip the coding and launch your store hassle-free.
Related Blog Posts
Get your store!
© 2025 BuildMyStores
© 2025 BuildMyStores